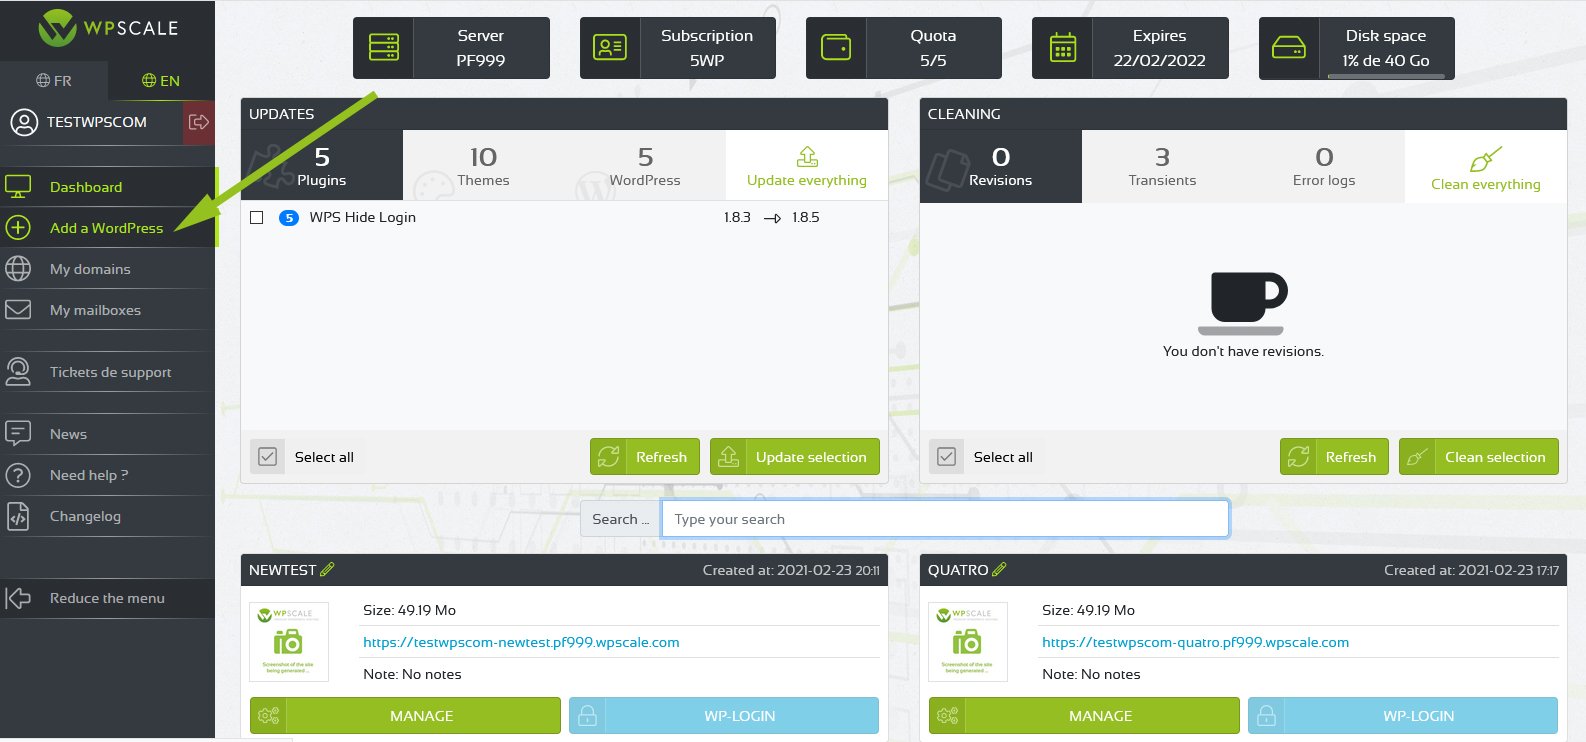
WPScale lets you add an optimized WordPress in just one click (see our basic optimisations). To begin, once on your console, click on "Add a WordPress" :
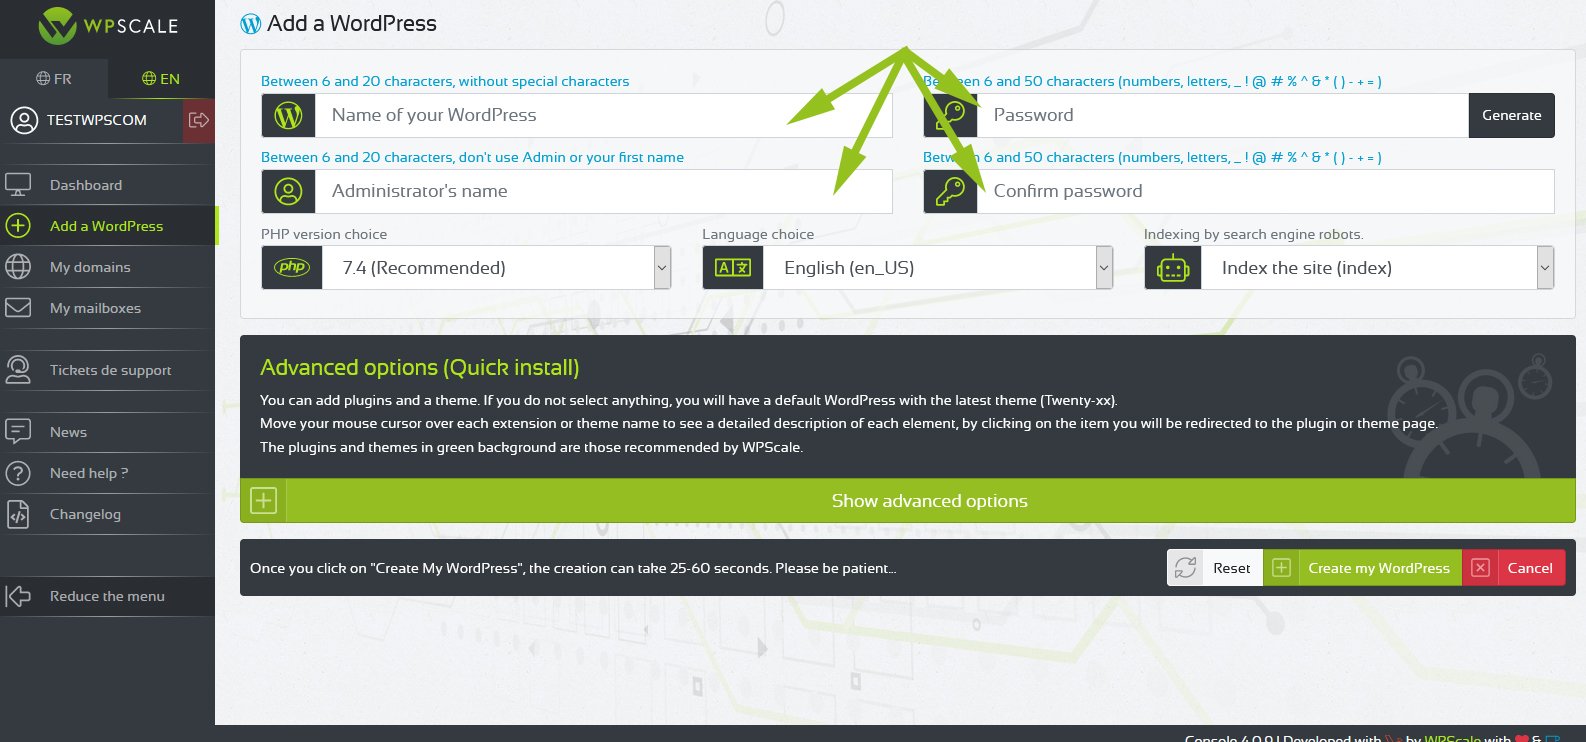
You’ll now see a complete page for creating your WordPress. You should choose the name of your WordPress, the name of the administrator and the password:
Then, you have the option to select plugins and a theme, which will be automatically installed and activated on your WordPress using our QuickInstall system:
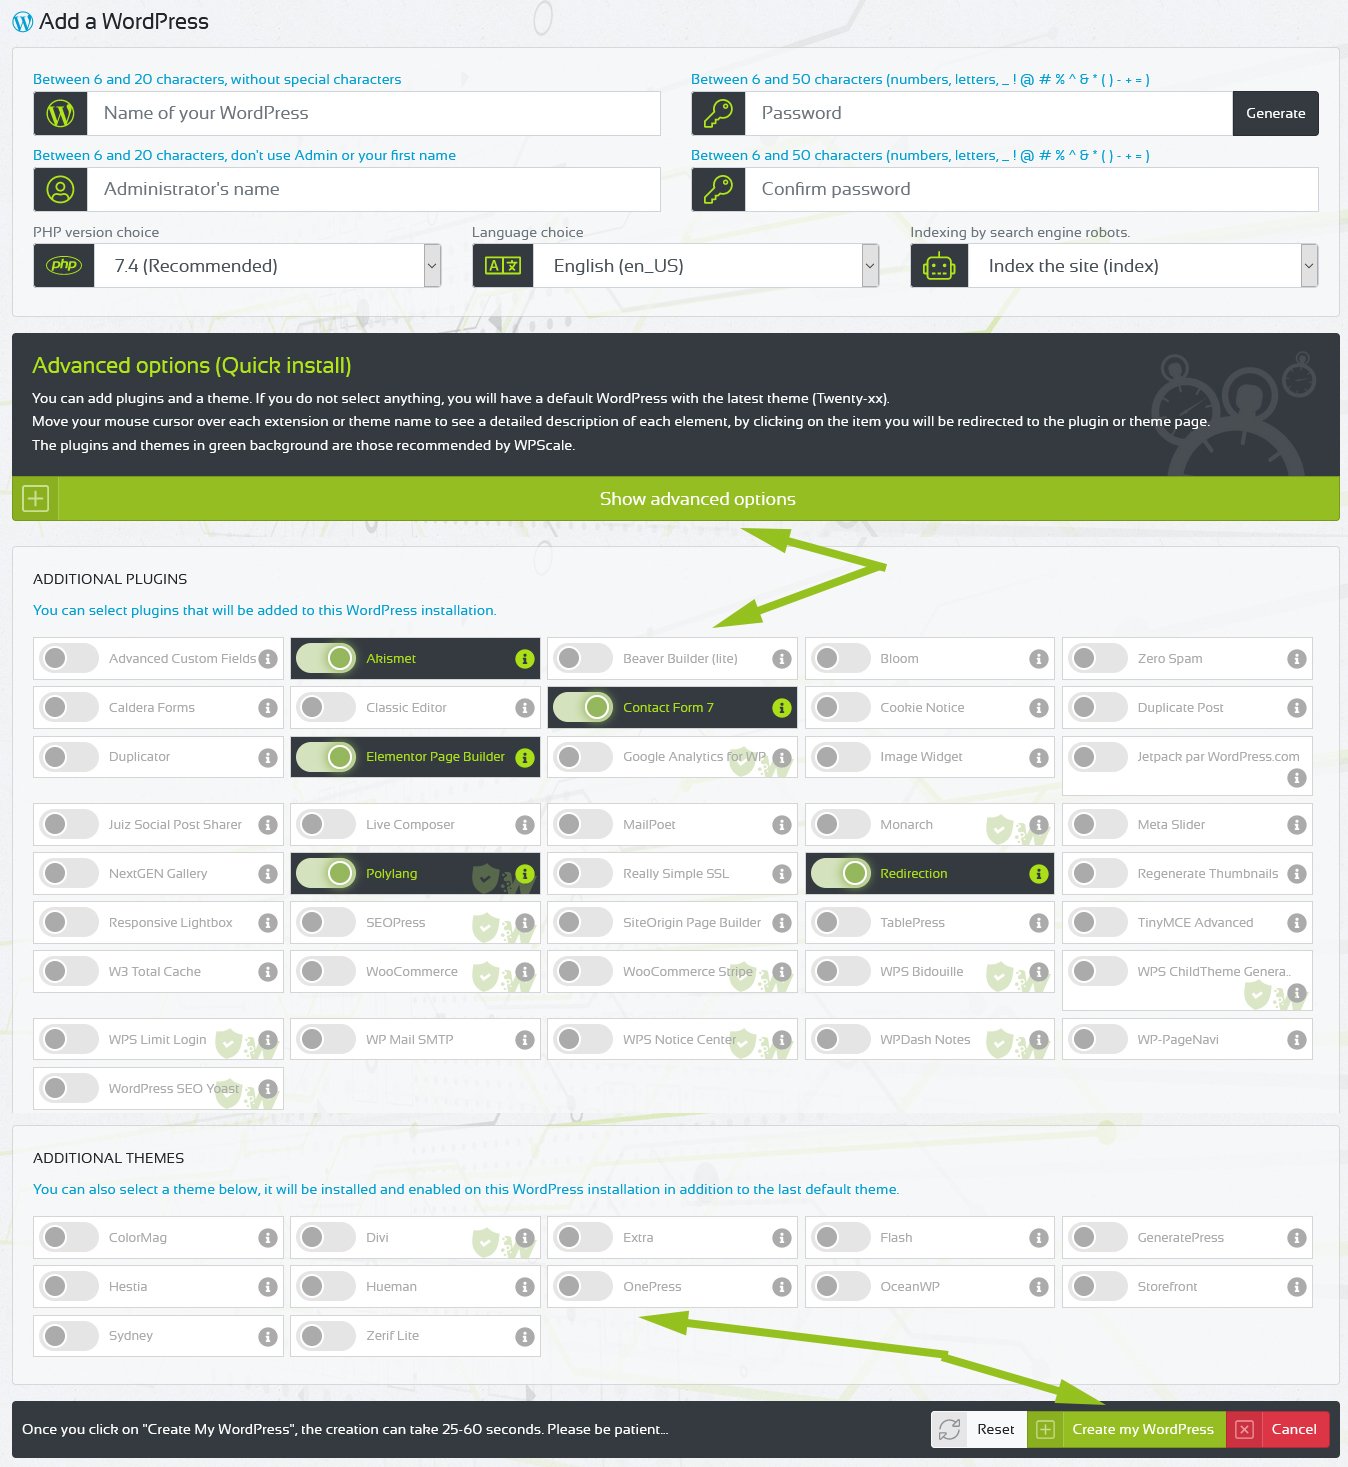
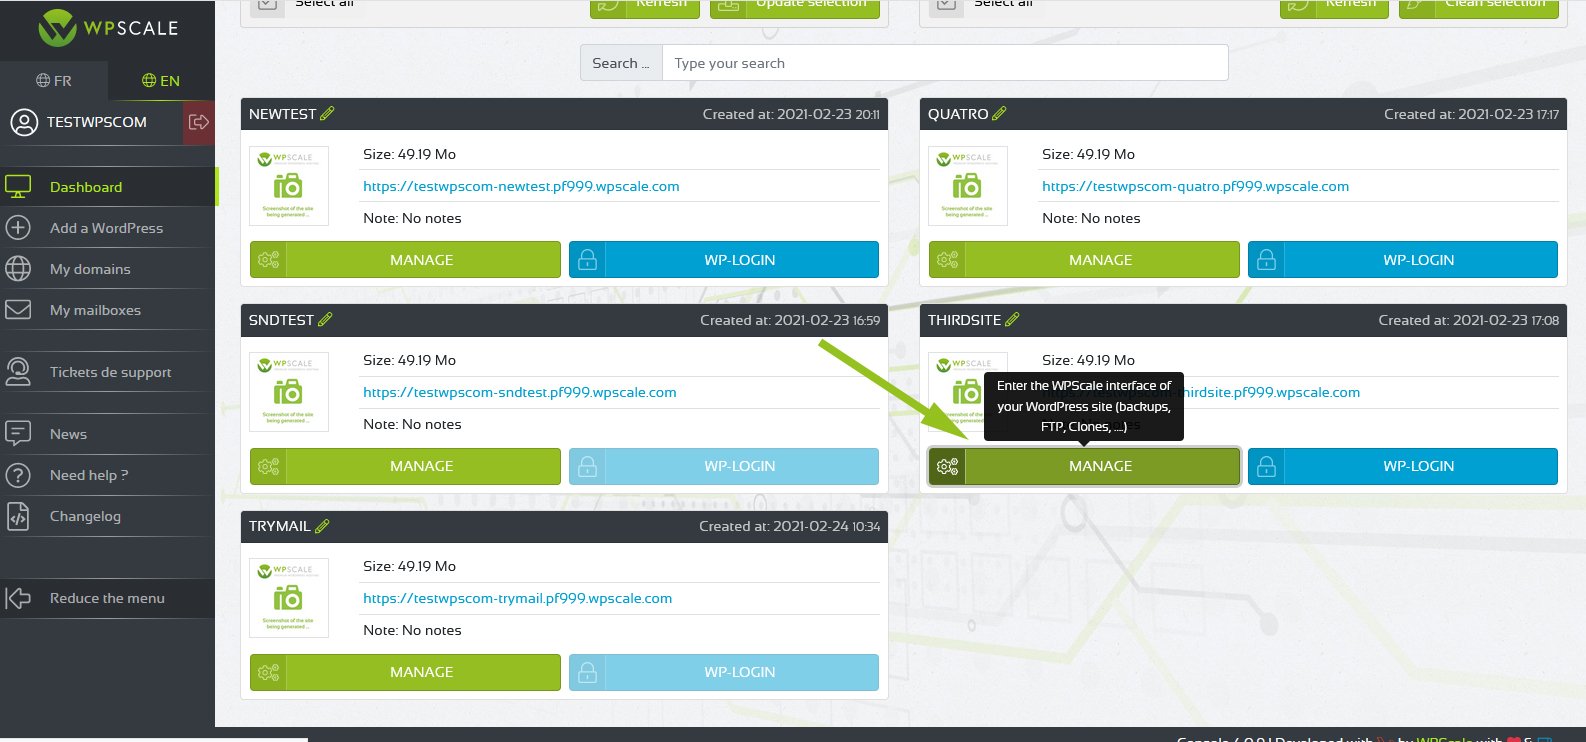
As soon as you’re ready, click on the "Create my WordPress" button to launch the installation :) Once WordPress is created (25 to 35 seconds), a success message appears and informs you that the operation was successful. You’ll see a loading icon. Once it disappears, the page will reload and you’ll see your new WordPress installation. You’ll also receive an email with all the information about this WordPress (URL, login URL, Password, FTP codes, PhpMyAdmin…). Click on the "Manage" button.
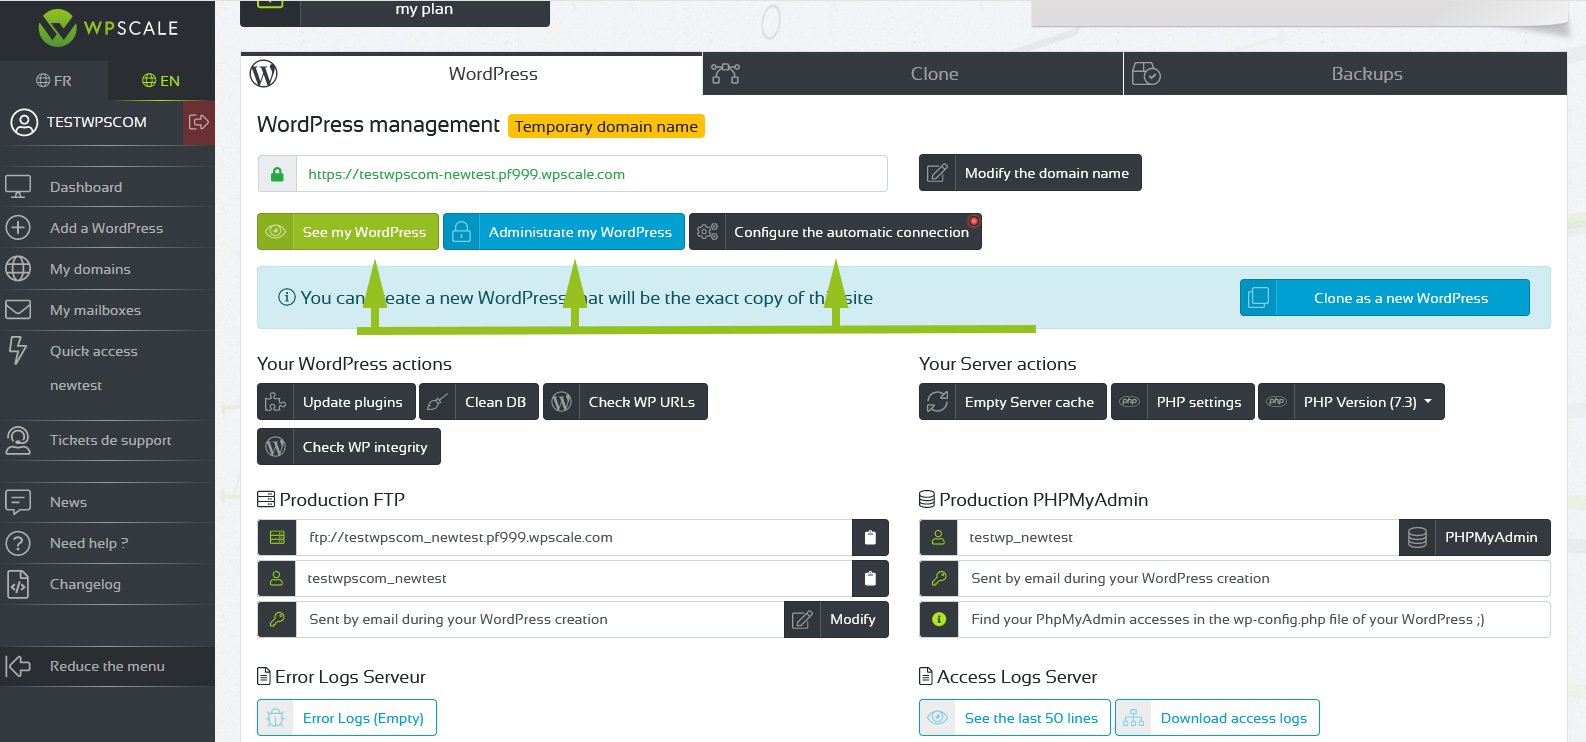
You can then access your WordPress by clicking on the "View my WordPress" button and go to the administration login page by clicking on the "Administrate my WordPress" button.
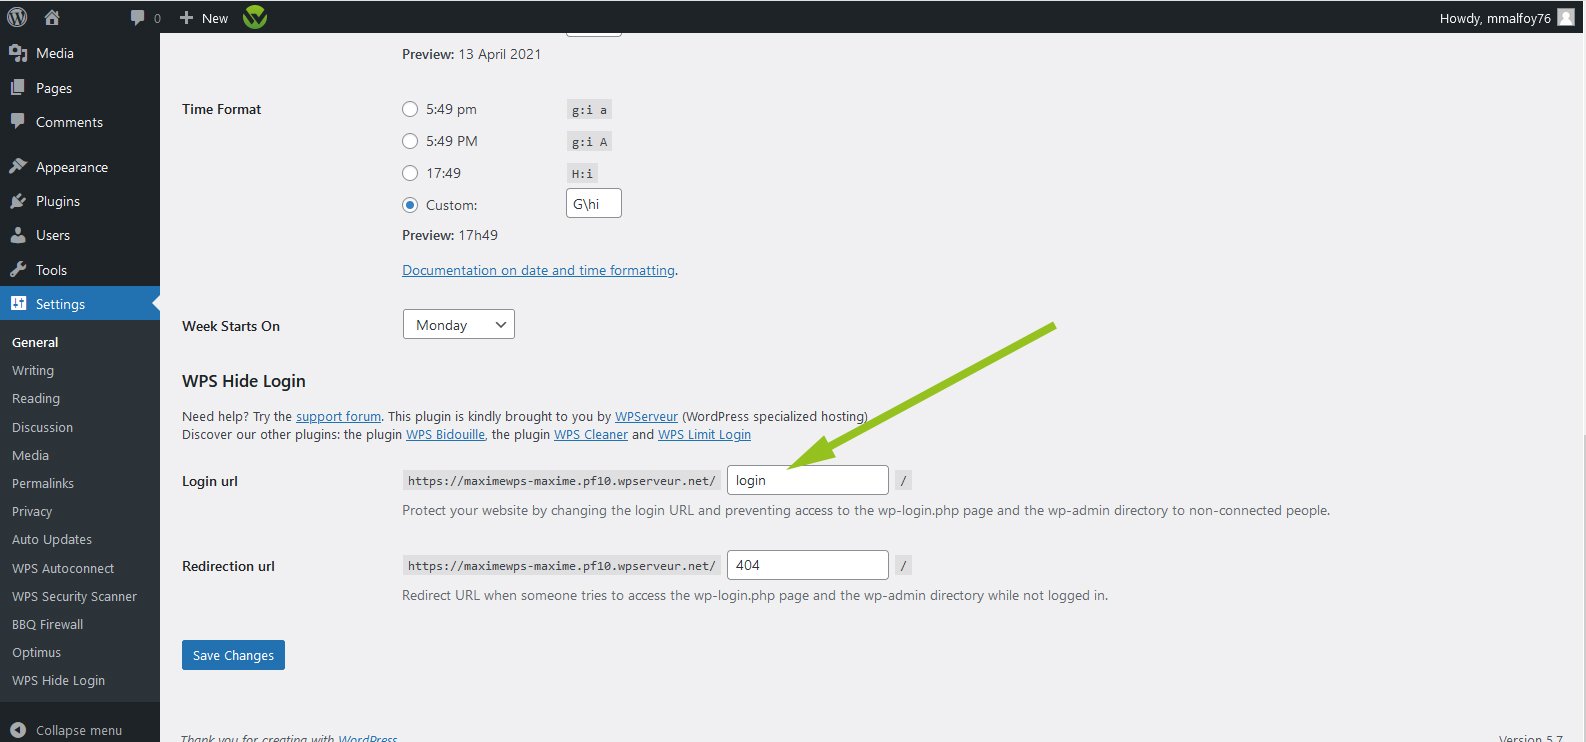
Login to your WordPress and change your login URL via the Settings => General menu at the bottom of the page :
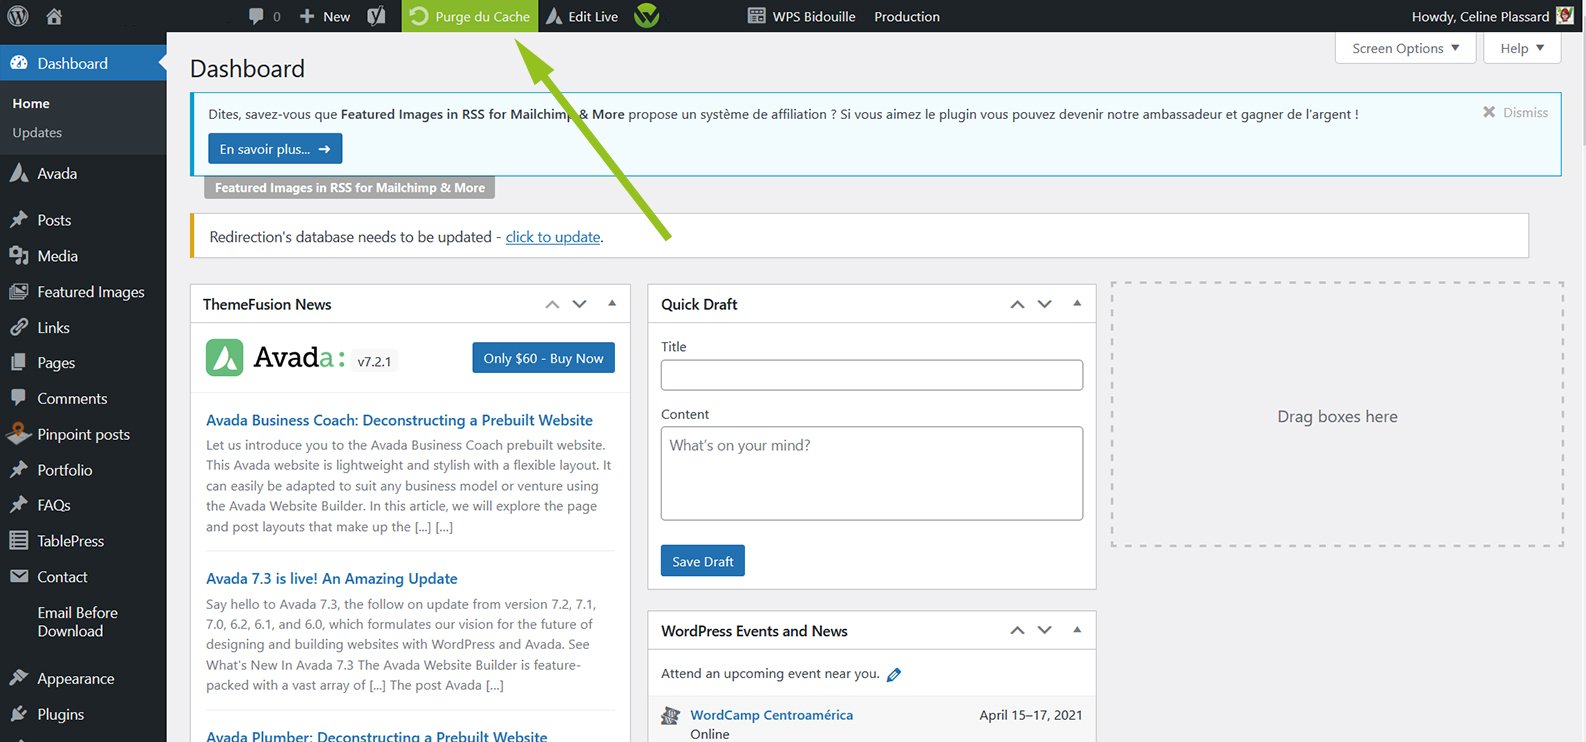
Your WordPress doesn’t need a cache plugin. Indeed, your server uses NGINX, which is why you have a "Purge Cache" button on your dashboard and in your admin bar. There’s no need to empty the cache manually (except for your CSS modifications) because NGINX purges itself automatically each time you create/change pages or articles.
